4/13 - 4/17
- bhallahan403
- Apr 17
- 3 min read
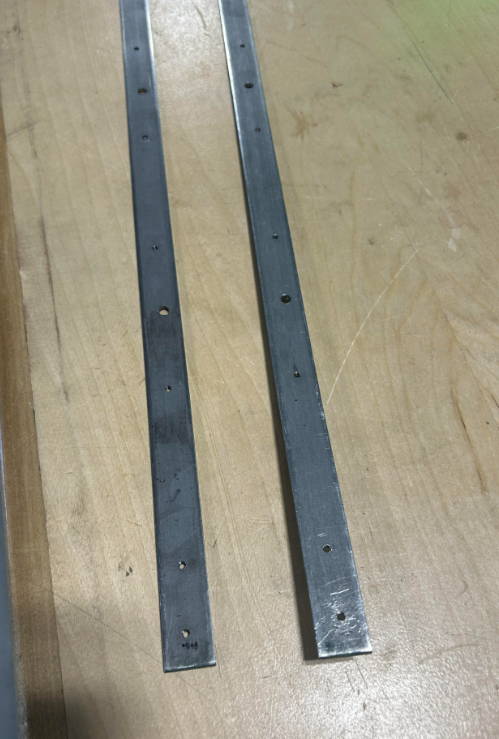
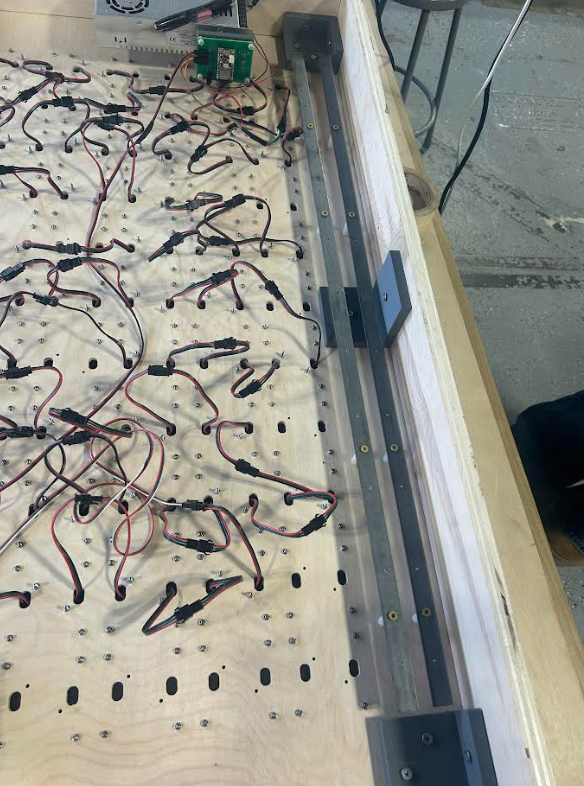
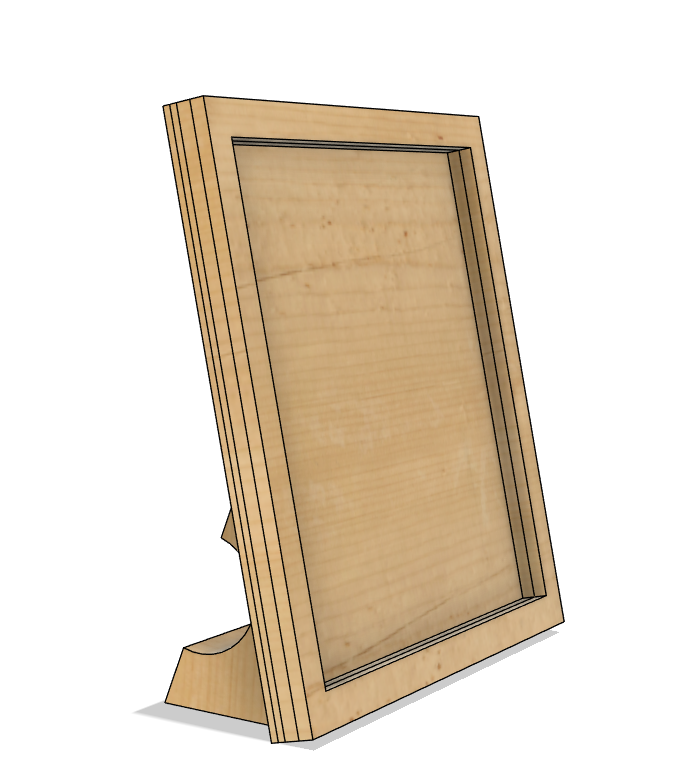
Last week and this week, I worked on both the word clock and my easel project. I started a new design of the easel in CAD. This new design has some ideas recommended to me by my classmate, Kim. The design is now less like an easel and more so just a stand that holds the canvas at an angle. Last week, Kim and I were able to completely finish tapping all of the holes in the steel power bars. It was very tedious because we had to use the drill press on all 34 holes, and then manually tap 30 of them. The holes for the spacers don't need to be threaded because we're drilling straight into the wood through those holes. I also did more work on the design of my canvas stand in CAD. We also got the power bars drilled in to the frame. We used these nylon spacers and wood screws to secure them.

This week, I was able to finish the design of my canvas stand in CAD. I also got all of the inkscape files created and sort of figured out what I was doing for the engravings. I ran into a dilemma when it came to cutting the parts out with the lasercutter. The pieces of wood that we have in the shop are too small for my design. One of the sides of the wood pieces is barely 12 inches. My design is 13.25" x 13.25". This made me rethink the design a little bit and I was debating maybe splitting the design into two and connecting the pieces later. I then had an idea of making it out of acrylic. I liked the look of engravings on the sort of frosted clear acrylic that we have, so I wanted to try that out.
The first cut I did didn't go the way I wanted because in the file on inscape, I made the stroke size of the engravings too small, so they weren't showing up well enough. While I looked at the test cut of the top layer, I remembered that we have a material that is like a red mirror that I've used for one of my previous projects,and I thought that the engravings might look cool if there was a layer of the red mirror behind it. I tried with the frosted front piece that I had already tried, but it didn't look as good as I envisioned it, so I wanted to try out the front layer with regular clear acrylic instead. I definitely like it a lot better, now I just have to make sure that the measurements are correct and it fits around the canvas before I actually start cutting the rest of the layers.


For the word clock, we just have to wait for Mr. Christy to order some parts for connecting the wires to the power bars. Kim and I were able to go up to metal fab and we asked them to make us some L-brackets in metal because the corners of the word clock frame could use some more support and structure.

Comments